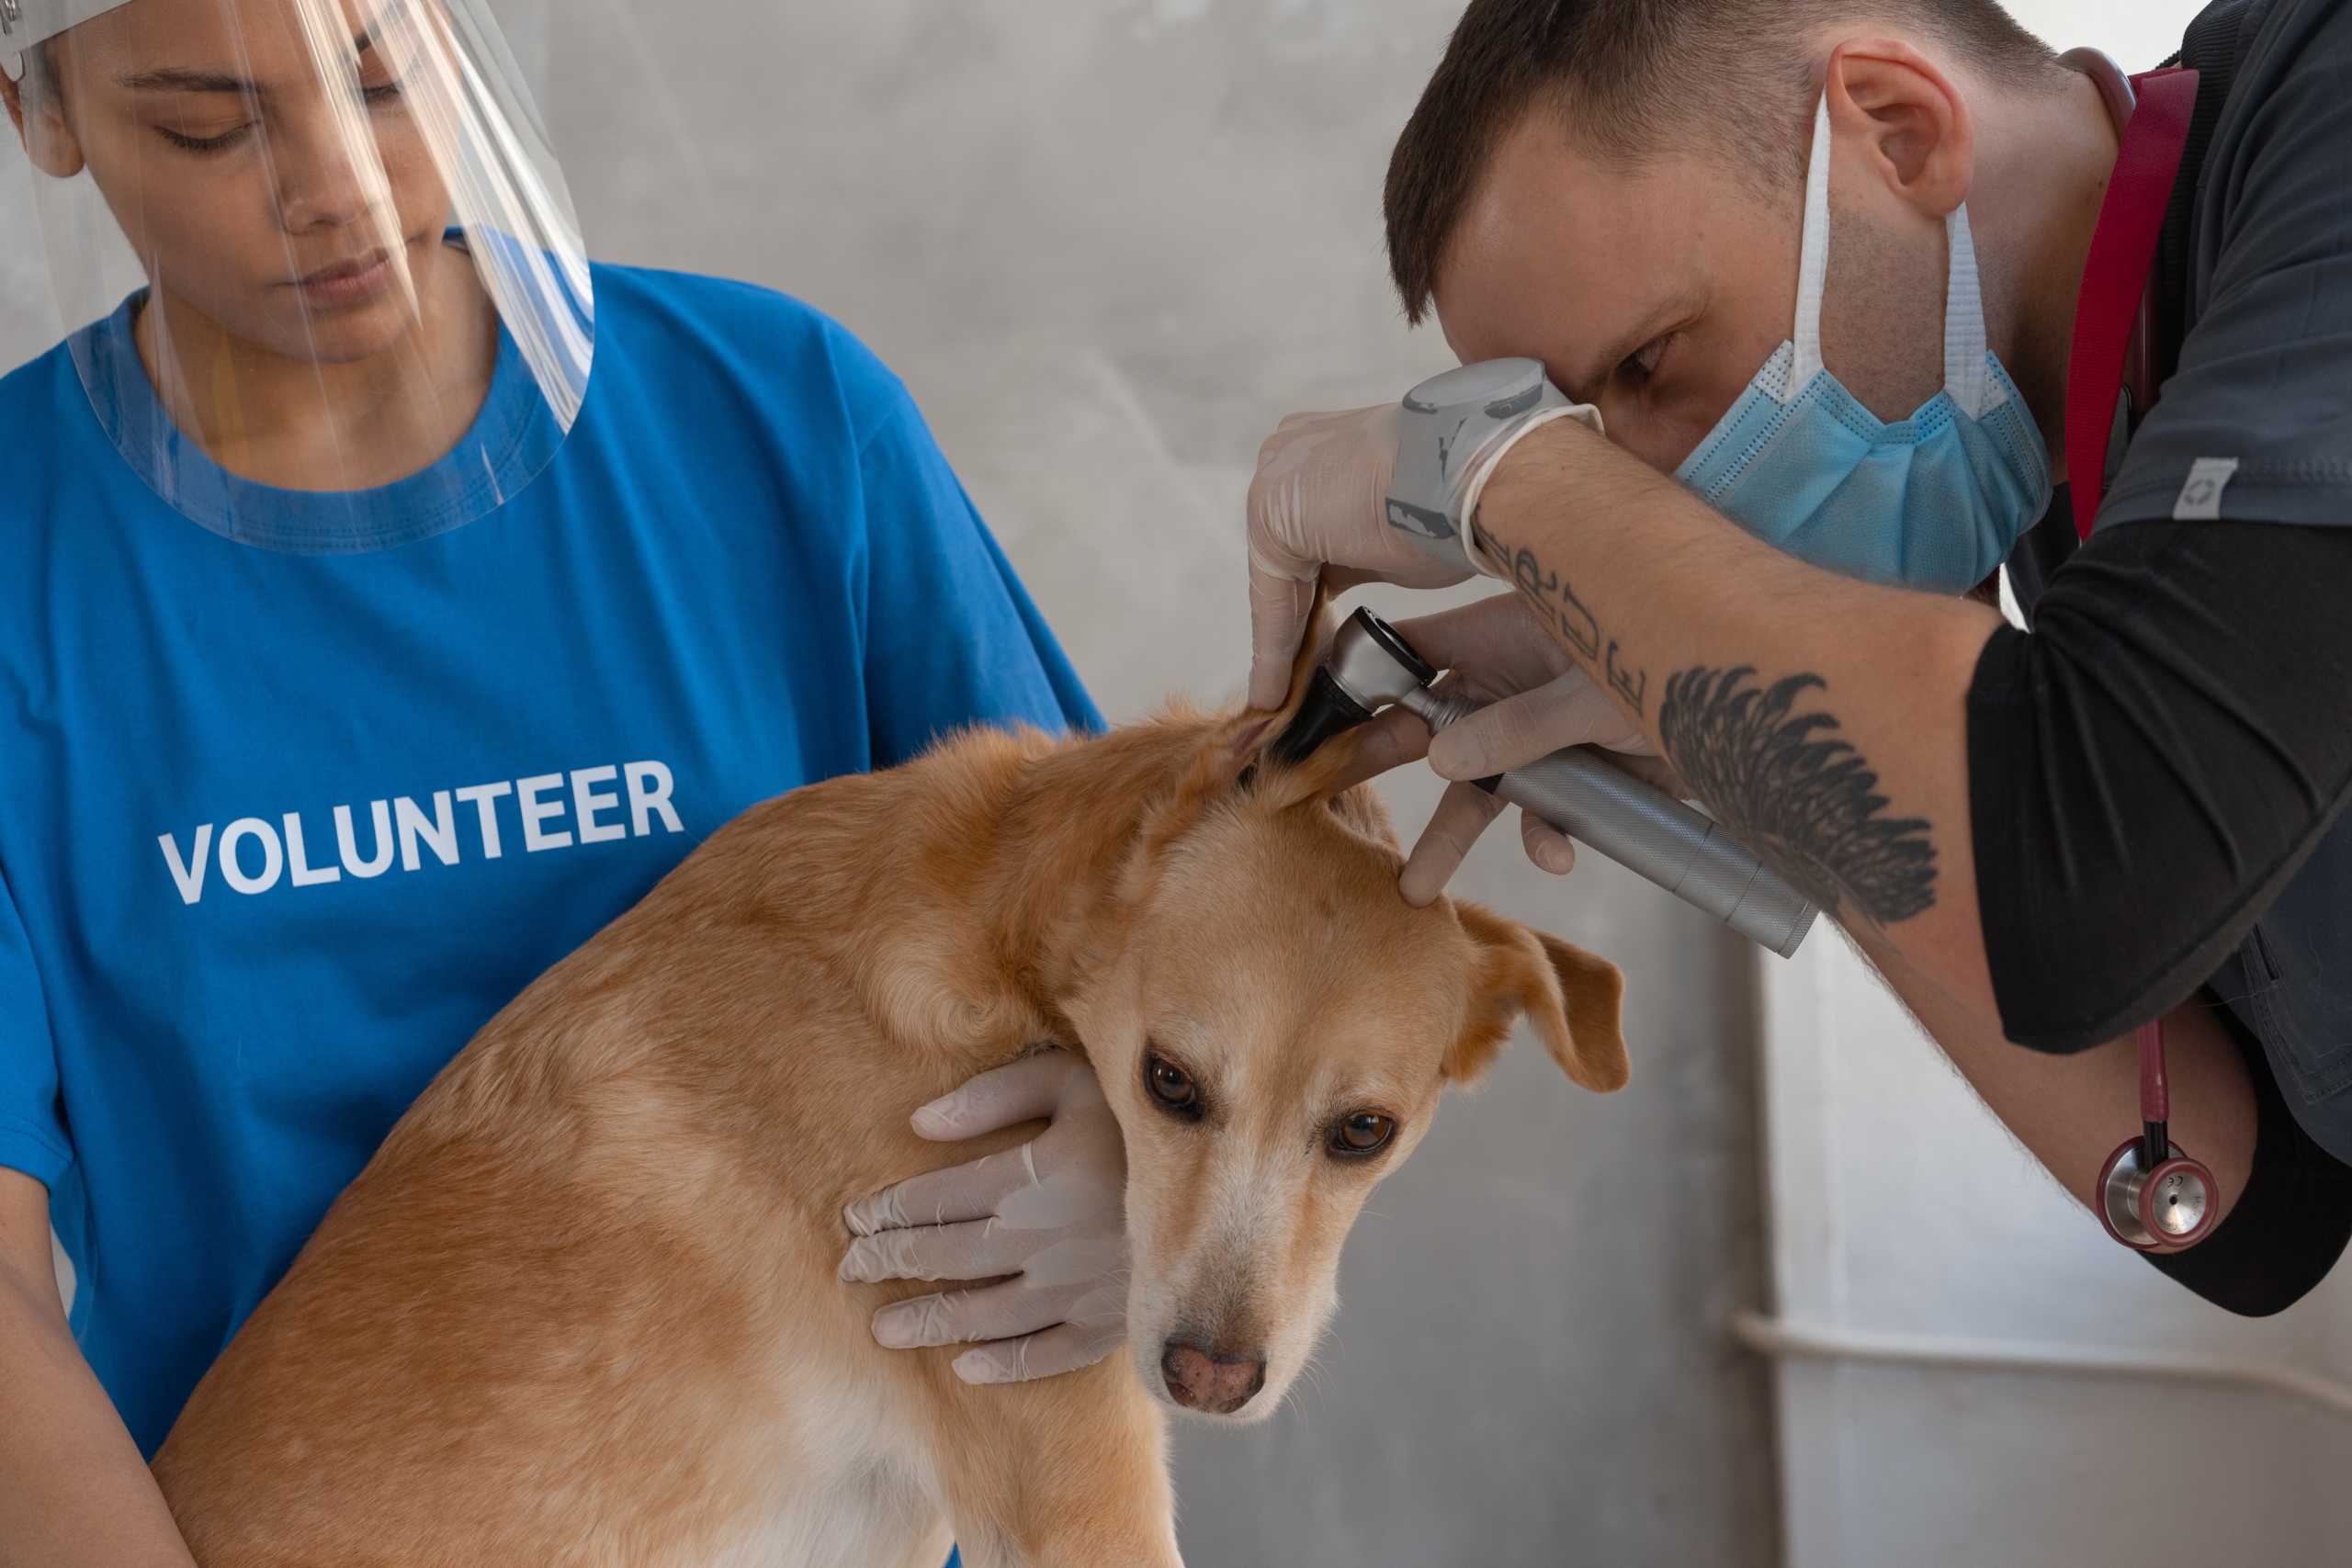
Ear infections are a common problem among our canine companions, particularly those with long ears. If left untreated, ear infections can cause a lot of pain and lead to other health issues.
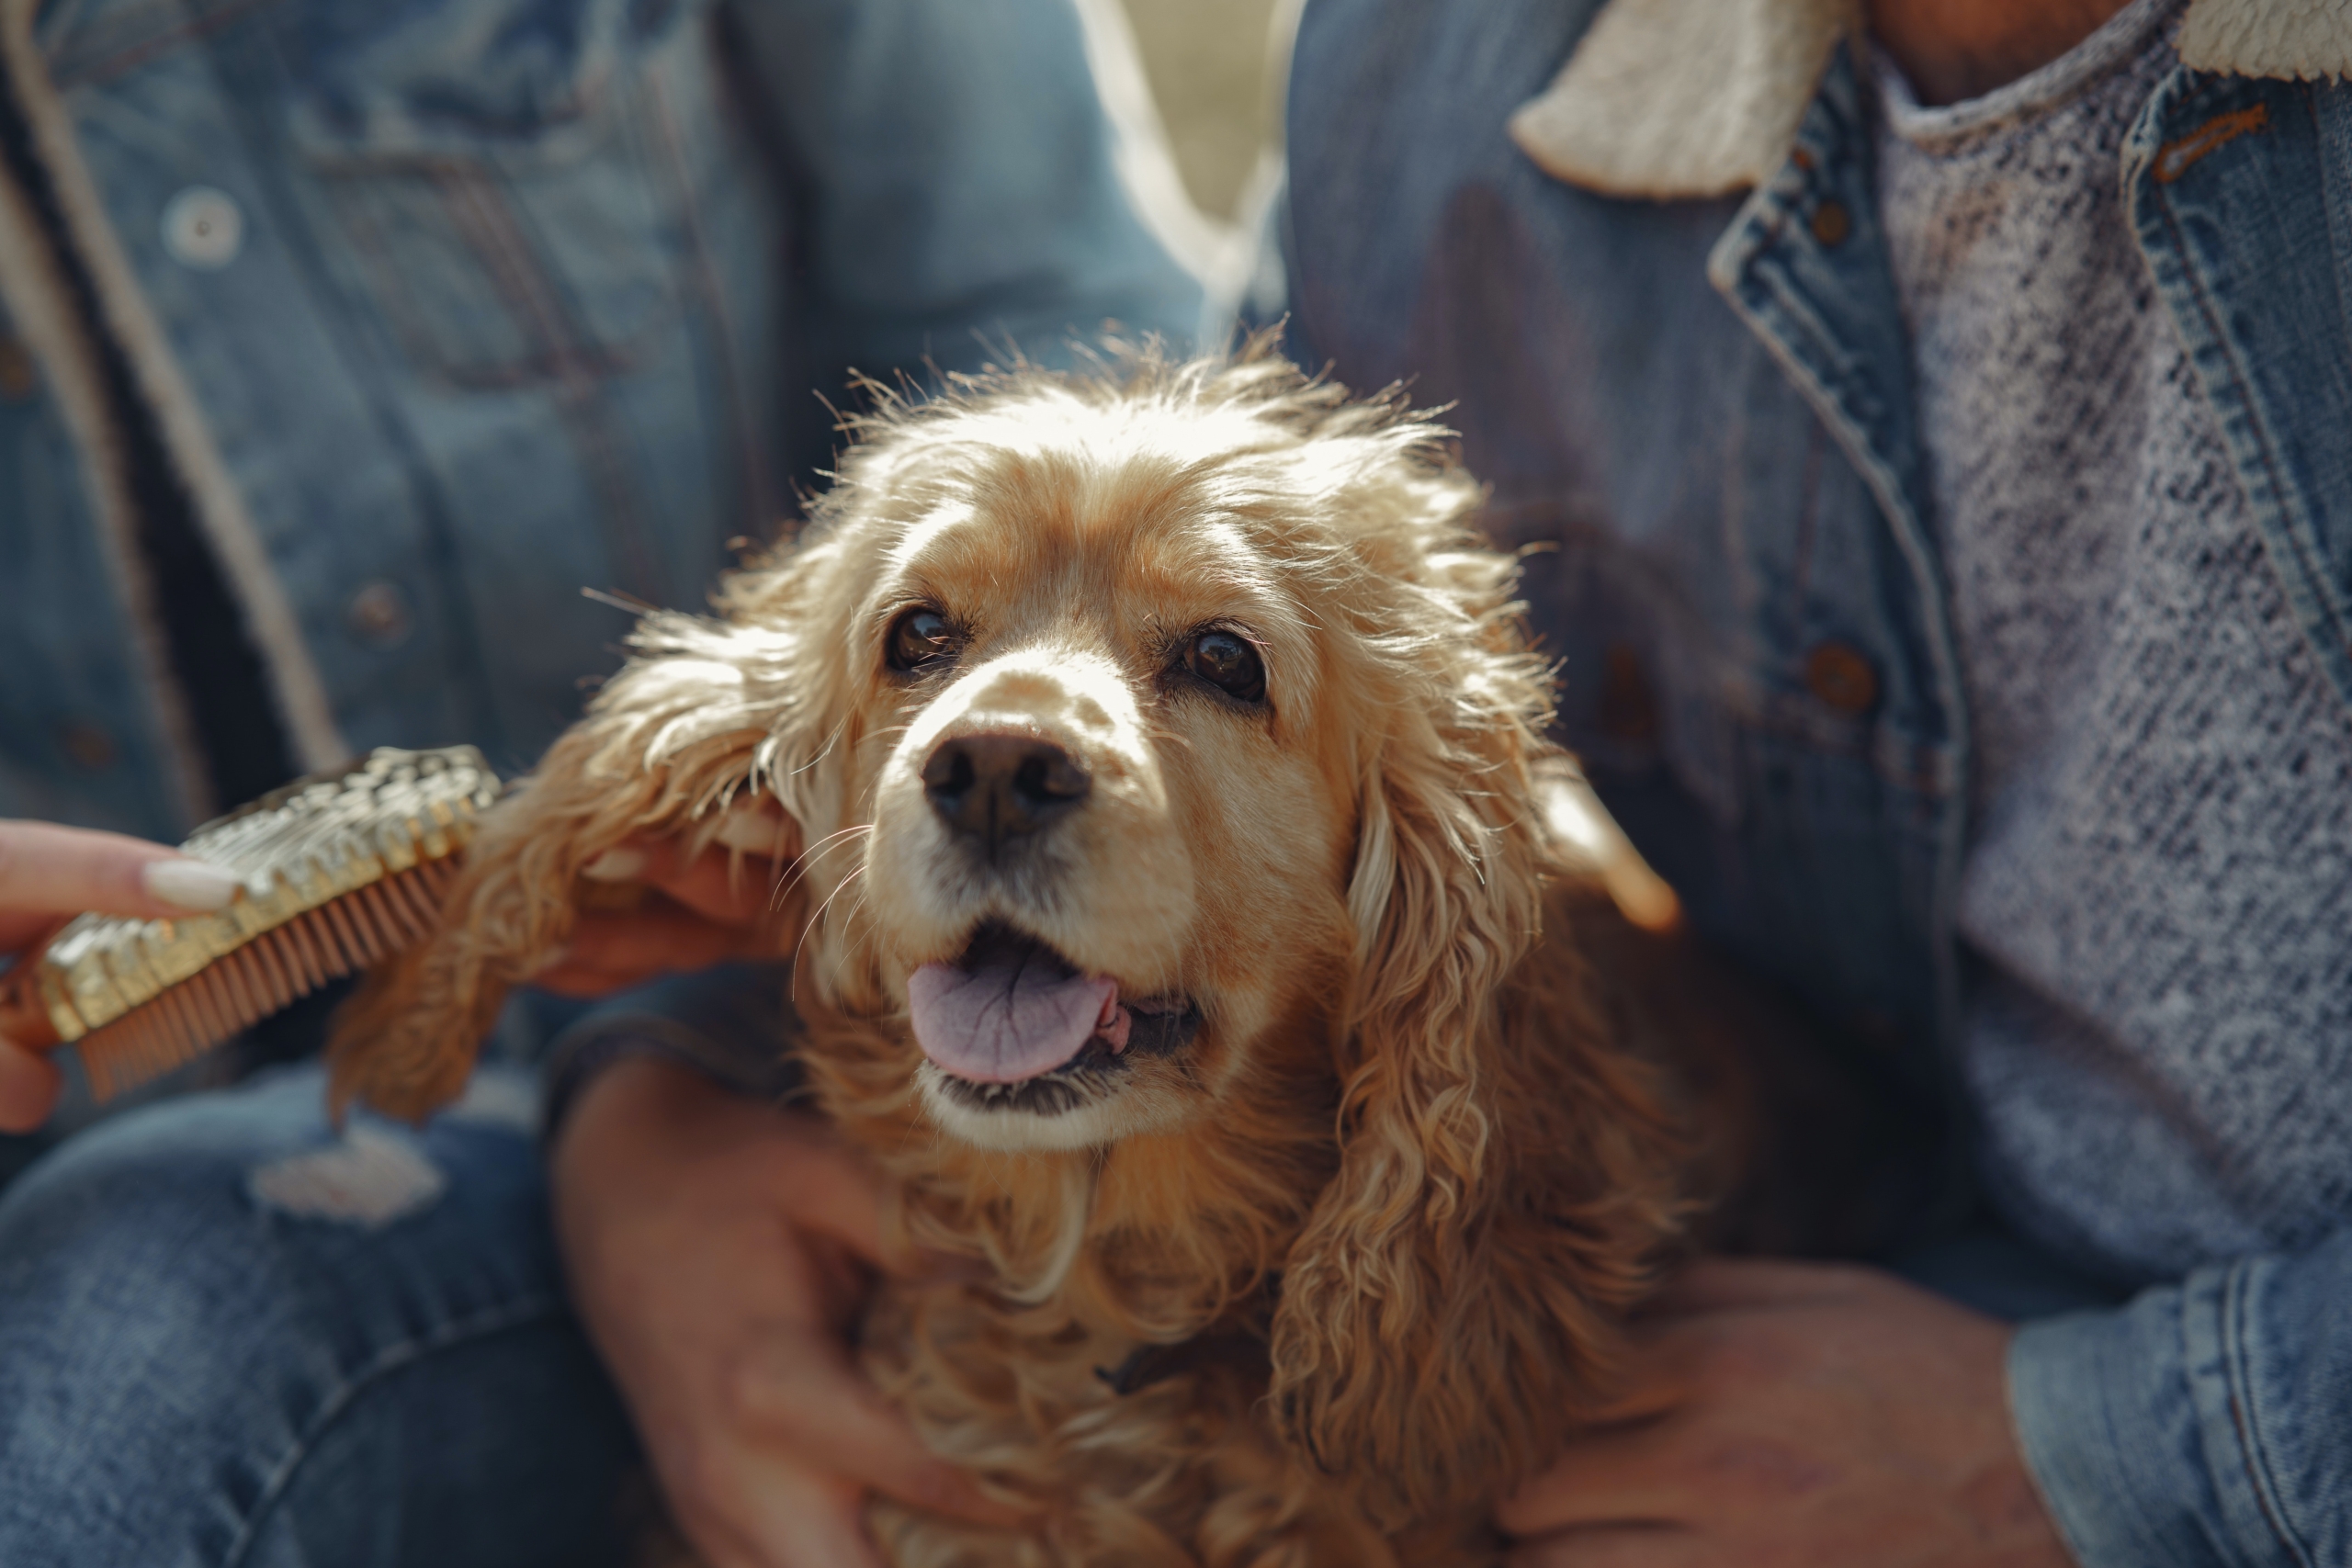
Dogs, especially those with floppy ears like Basset Hounds and Cocker Spaniels, are more prone to ear infections. Approximately 20% of dogs suffer from ear disease, which can affect one or both ears.
Infections and inflammation in the outer, middle and inner ears can be caused by a variety of infectious bacteria, fungi, parasites, and foreign material. They can also lead to different symptoms.
Symptoms of ear infections in animals:
Mild symptoms
- Ears appear red/inflamed, and a black/brown or yellow/green discharge may be seen
- Strong odour
- Constant ear scratching or shaking of the head
- Swelling around the ear
- Whimpering due to discomfort
Or more seriously…
- Loss of balance
- Hearing loss
- Unusual eye movements
- Walking in circles or head tilting
Fortunately, there are actions you can take to help your pet’s crises last less long and be less severe.
If your veterinarian’s clinic is unable to see your dog right away, you may use an over-the-counter pet ear cleanser to try to prevent the infection from getting worse. If your dog’s or cat’s ears have a lot of discharge, these steps can also assist to clean them out.
What to do when your pet has an ear infection:
Step 1:
Sit on the floor with your pet in front of you, its back end nestled between your legs. If you have a large breed, place them such that their back end is in the corner of the room and one side is against the wall while placing yourself on the other side.
Step 2:
Grasp one ear and lift the ear flap (pinna) vertically to reveal the ear canal and straighten it out. Hold the ear cleaning solution with your other hand, while softly yet firmly grasping your pet’s ear flap.
Step 3:
Squeeze a little ear cleaner into your pet’s ear. Fill the ear canal with enough cleanser to completely fill it. If some of the cleaner leaks into the ear canal, that’s fine.
Do not insert the bottle’s tip into their ear. To avoid the spread of bacteria or yeast, wipe the top of the bottle with a clean cotton ball soaked in alcohol if it comes into contact with your pet’s ear.
Step 4:
Continue to hold the ear flap vertically in one hand while massaging the base of the ear below the ear opening with the other hand for about 30 seconds. The cleaning solution will be able to break up the debris in the ear canal. As the cleaning solution goes around in the horizontal region of the ear canal, you should hear a squishing sound.
Step 5:
Wipe debris from the inside part of the ear flap and the upper ear canal using a cotton ball or gauze while still holding up the ear flap. Allow your pet to shake their head. This permits any leftover ear cleaning solution and dirt from the ear canal to drain into the ear’s outer aperture.
Step 6:
With a cotton ball or gauze, remove any debris and residual cleaning solution from the ear canal – only go as far as your finger will reach.
Step 7:
Reward your pet with treats and praise, positive reinforcement may make future ear-cleaning much easier. Carry on with the opposite ear in the same manner.
Step 8:
Stop and visit your veterinarian if your pet looks to be in pain throughout the cleaning process. Repeat the cleaning technique as often as your veterinarian suggests. If your pet gets an ear infection that necessitates treatment, wipe their ears first and then administer the medication.
What not to do when your pet has an ear infection:
- To remove the solution from the ear canal, never use a cotton-tipped applicator (Q-tip). This can cause damage to the ear canal and/or eardrum, as well as push material deeper into the ear canal.
- Hold the ear cleaning bottle next to your pet’s ear, but do not insert the bottle tip into the ear. If the tip comes into contact with your pet’s ear, clean it with an alcohol wipe before using it.
- Never put anything inside your pet’s ear canal, including your fingers.
- Never wipe your pet’s ears with vinegar or hydrogen peroxide; these compounds are toxic to your pet.
- Do not clean your pet’s ears too regularly as this might also cause an ear infection. Stick to your vet’s advice on how often you should do it.
So, what’s the takeaway?
All pets are prone to ear infections. They’re caused by a bacterial or yeast overgrowth in your pet’s ear canal, as well as allergies.
Your veterinarian will conduct tests to determine the source of your pet’s ear infection and prescribe the appropriate therapy. Medicated ear drops and ear cleansing treatments are usually suggested by your veterinarian.
Since allergies are a significant cause of ear infections in pets, keeping note of their ear infections might help you manage them.
Remember, the golden rule for pet care is safety first! If you’re uncomfortable or uncertain about cleaning your pet’s ears, contact your vet. They’ll be happy to give you a tutorial and build your confidence as a proud pet parent.