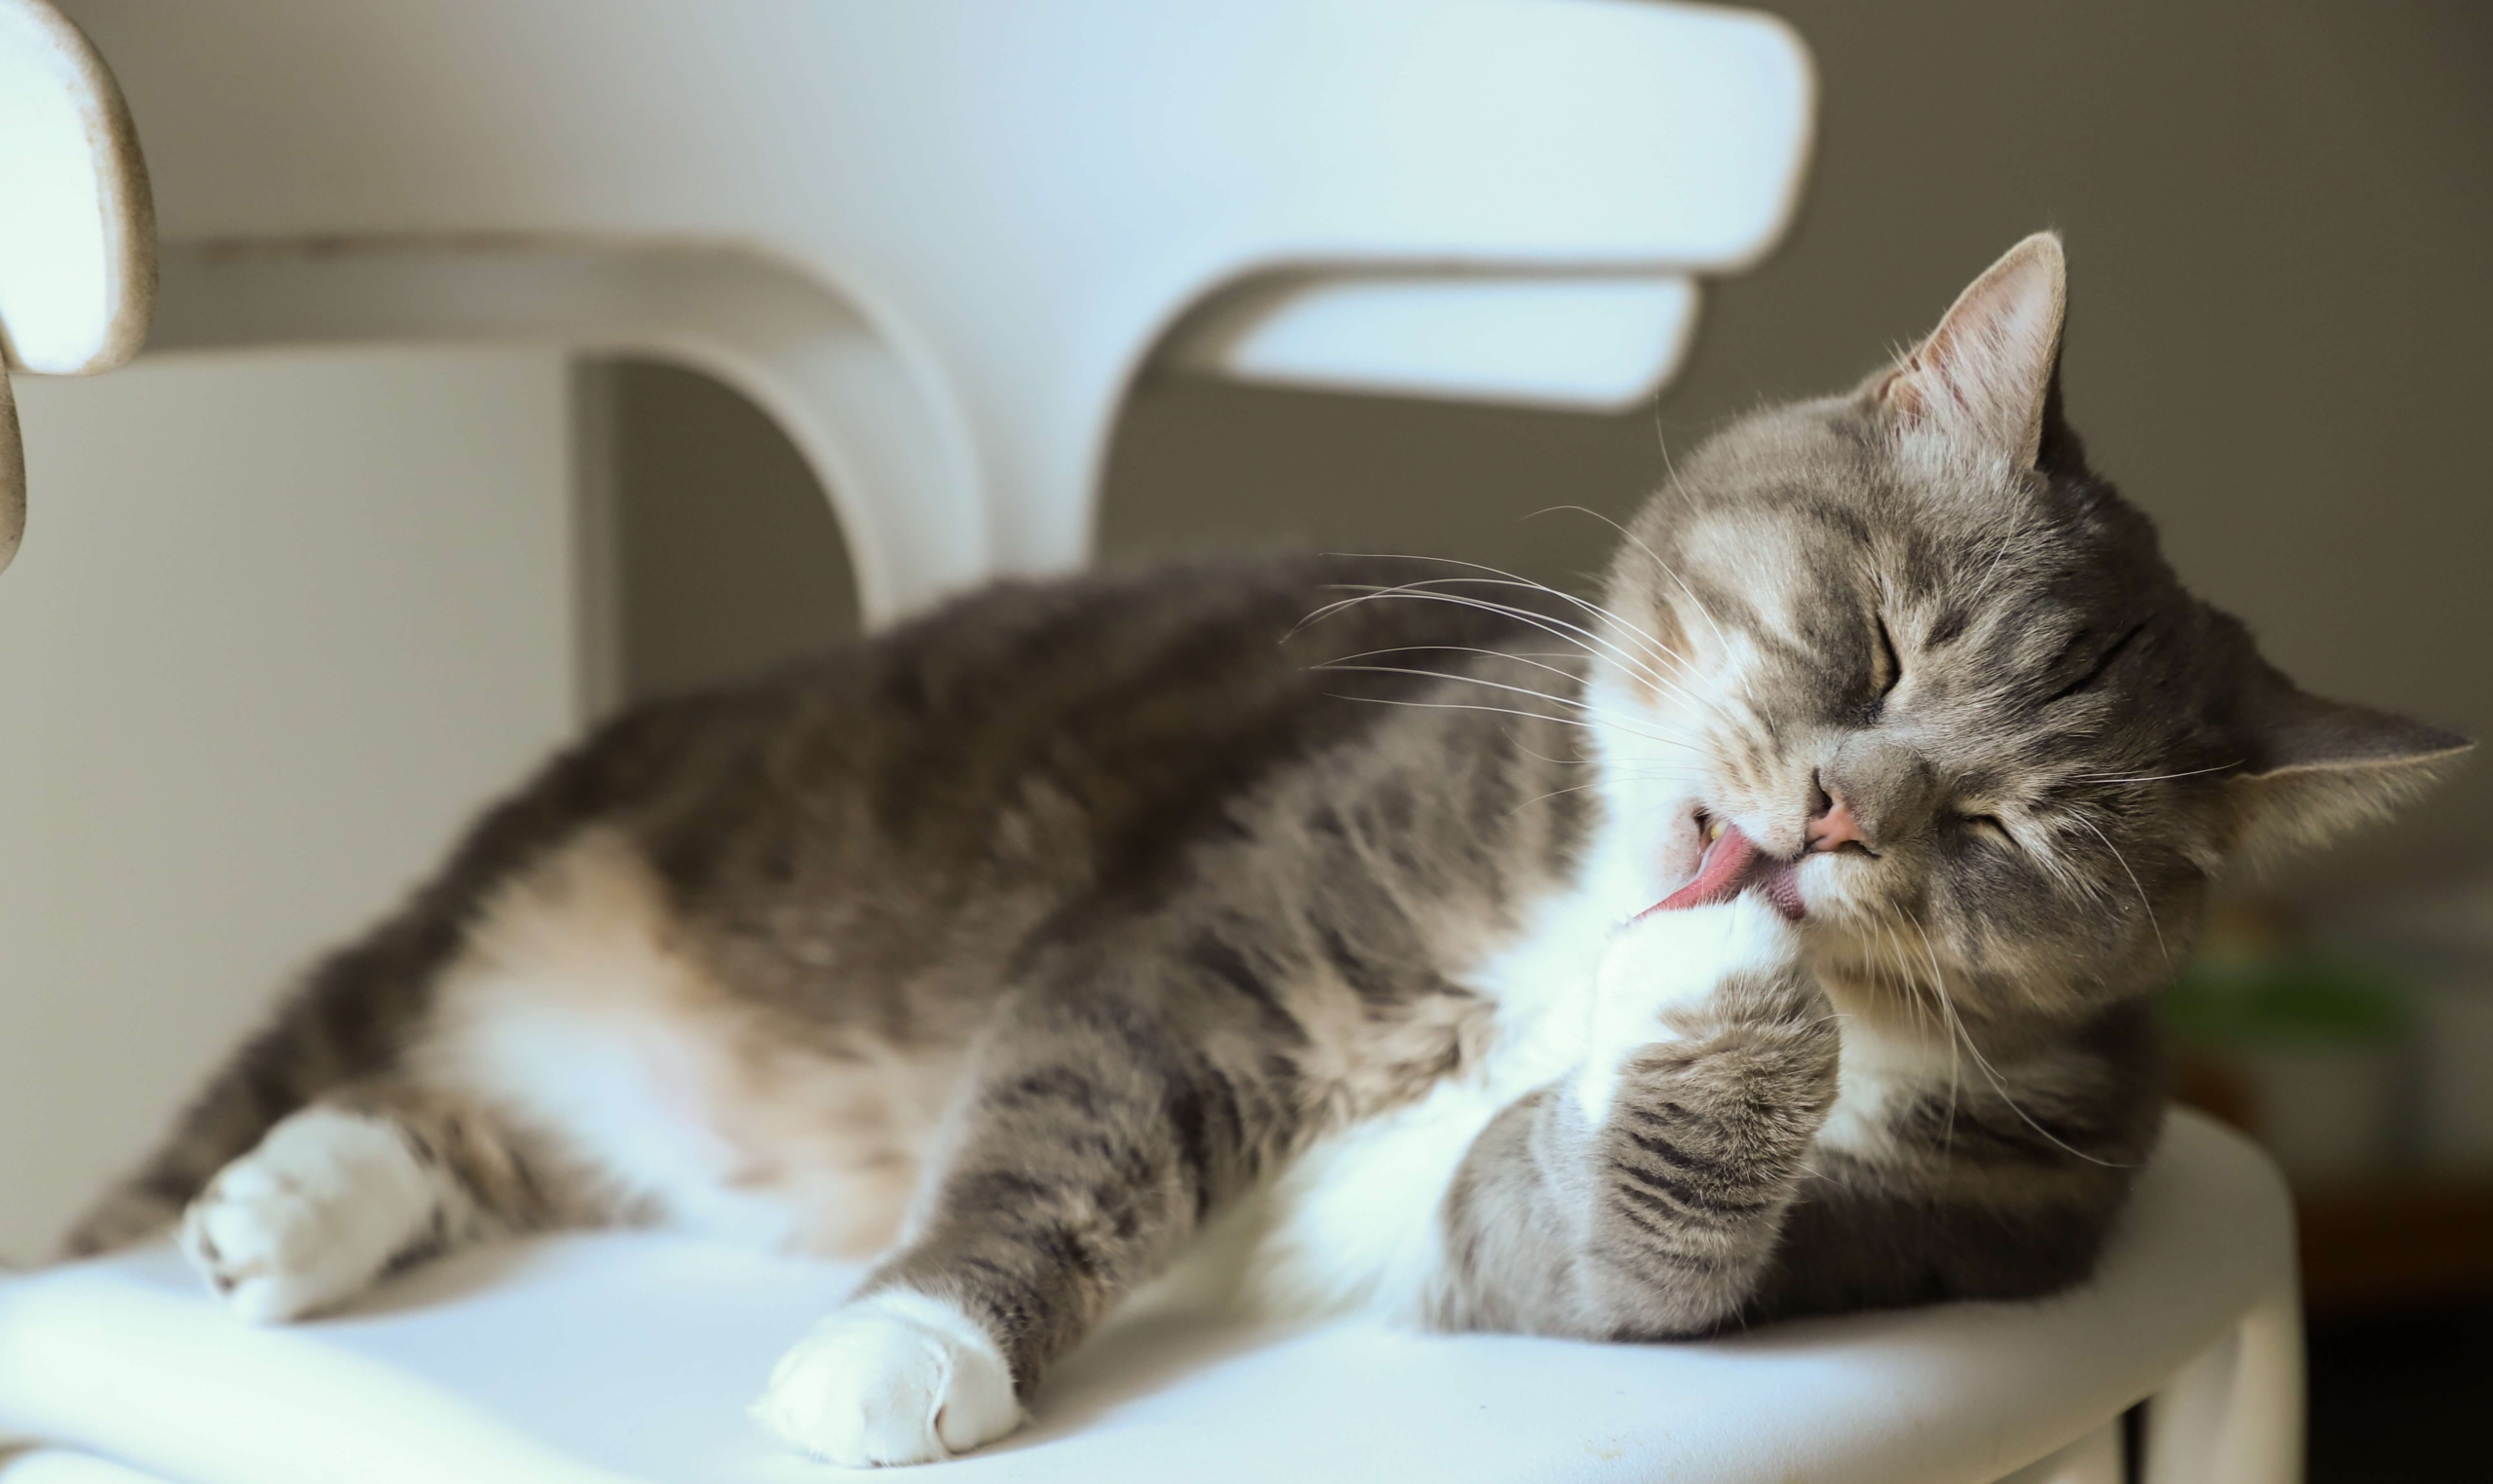
It’s common knowledge that cats are well equipped to clean themselves- but sometimes you may feel like yours might just be the Smelly Cat that inspired Phoebe Buffay.

Whether you’ve got an adventurous kitty or you really are just feeding your cat some smelly food, they might need some extra help cleaning up.
In this article, we’ll be breaking down the basics of cat grooming:
- How to wash your cat
- How to clean your cat’s ears
- How to trim your cat’s nails
How to Give Your Cat a Bath
While it’s perfectly fine to clean only selected parts of your cat as and when needed, you may want to give it a full bath. To ensure that your cat’s bath-day takes off successfully, you’ll need to prep:
- Your cat
- Your bathroom
1. Preparing your cat
Bathing an energetic cat is not going to be easy, so make sure that you do so when your cat is tired and calm- perhaps after playtime.
Attempting to bathe a cat that is already on edge isn’t going to work out for anyone, so if your cat looks stressed, it’s best to wait till they’re not or try again on another day.
You can make your cat more at ease about being in the bathroom by leaving some toys in there for it to play with, and even by offering it a treat- positive reinforcement.
You could also use a vet-recommended cat pheromone, such as Feliway, to help your cat destress.
In addition to that, it’s also best if you trim your cat’s nails beforehand (read on to find out how), as you wouldn’t want them equipped to express their irritation.
If this doesn’t seem to work out for you, you can always take your cat to a professional groomer.
2. Preparing your bathroom
Your cat is most likely going to try and make a run for it, so it’s best to make sure that you close any escape routes and cover any nooks and crannies they could attempt to hide in- toilet bowl included.
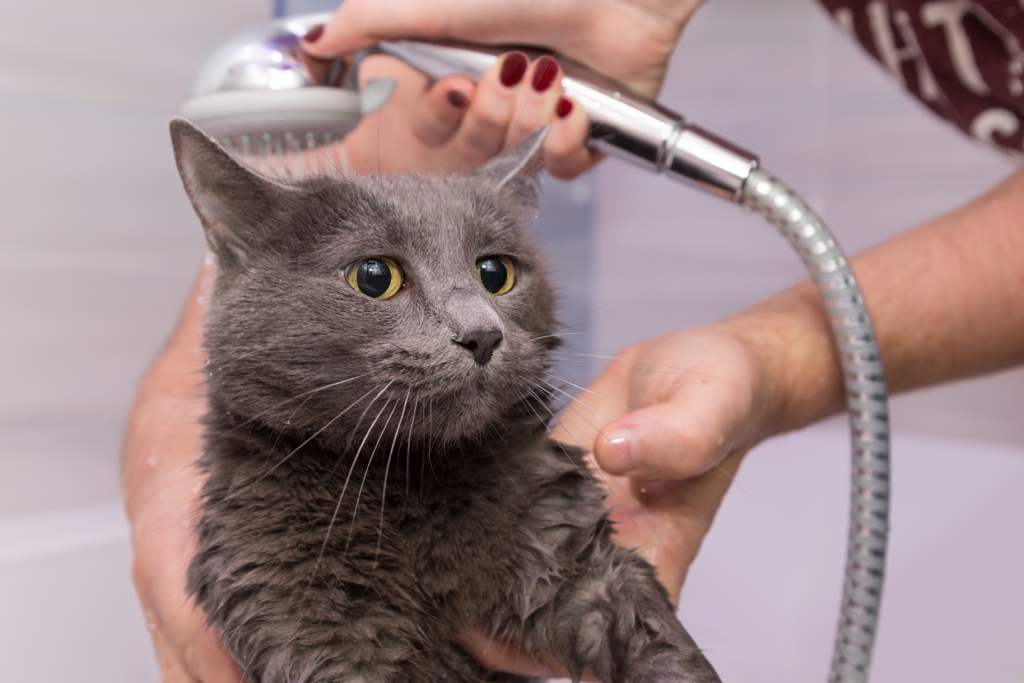
If you have a tub, fill it up to about 3 or 4 inches with water, if not, do the same in a basin and bring in something you can use to pour. In the absence of both of these, you could also opt for a hand shower- just make sure that the pressure is gentle, as you don’t want to scare your cat.
Always make sure that the water you’re using is warm, as cats have fine fur and can feel extremely cold when they’re wet. That being said, make sure you have some towels on hand to dry them up after.
Step one
Always brush your cat’s fur before a bath, especially if it’s long. This makes sure that you get rid of any knots and larger bits of dirt beforehand.
If you worry about water getting into their ears, place two cotton balls inside them.
Step two
Gently put your cat in the water, and give it some time to get used to it. Remember, cats don’t like feeling cold. Make it a little easier by offering it a toy to play with or giving it some head rubs.
If your cat appears to be afraid of the water, then you can always opt to use a wet towel and wipe them down instead.
Step three
Slowly pour some water on top of it, be mindful and avoid its head. If its face is particularly dirty, simply clean it with the edge of a wet towel.
Your cat will most likely get irritated if you put water directly on its face. Apart from that, water getting into their ears could result in an ear infection.
Step four
Once your cat’s coat is wet enough, go in with some cat-safe shampoo, and gently lather it into their coat.
Make sure that the shampoo isn’t too heavily fragranced, as cats are hypersensitive and may find it irritating.
If the shampoo you use appears to irritate your cat’s skin and causes it to itch, lose fur or become red, you will want to contact your veterinarian and ask them to recommend the right shampoo for you.
Step five
Thoroughly wash off the shampoo with more water- any residue could cause more dirt to accumulate and could irritate your cat’s skin.
Step six
Use a soft towel and dry all the water off your cat. Feel free to use a blow dryer- however, it is vital that you ensure it’s on the lowest heat setting. While it may frighten your cat at first, it’s best to get them used to it from a young age, as towel drying alone could leave them feeling damp and cold.
Step seven
You might need to make a peace offering with your kitty after, so always make sure you have some treats on hand! Especially when it comes to these stressful procedures. Even if it didn’t go too badly, a treat post-bath is a method of positive reinforcement.
How to Clean Your Cat’s Ears
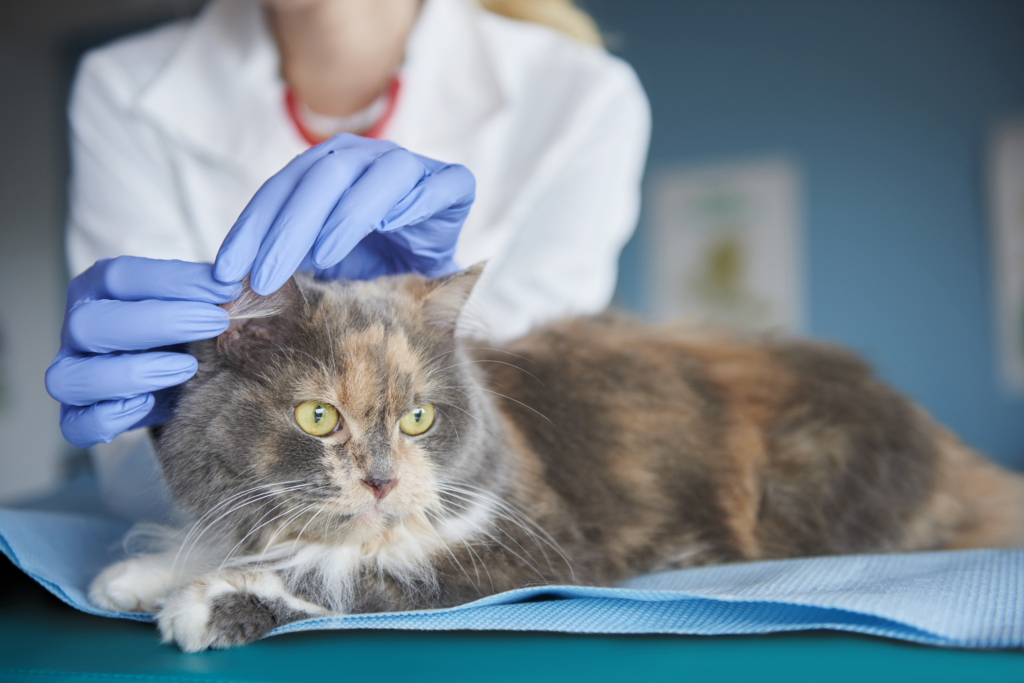
Cat’s ears are regularly relatively clean, however, you may notice the occasional build up of debris and earwax. If this seems excessive, it’s best to reach out to your vet.
Always be careful when you’re cleaning your cat’s ears. Remember to only do this when it’s absolutely necessary, and maybe even get your veterinarian to demonstrate how to do this in person.
To clean your cat’s ears, you will need:
- A vet-recommended ear cleaning solution
- Gauze or cotton balls
Step one
Hold your cat on your lap in a comfortable position that gives you easy access to its ears- you may need someone else to hold them so you can use both hands.
Step two
Hold the tip of your cat’s ear, also known as the pinna, up- exposing the ear canal and straightening it out.
Step three
Flood the ear canal with the ear cleaning solution and then massage the base of the ear for about 30 seconds- this will cause the debris in the ear to break up.
Step four
Your cat will feel inclined to shake its head to get rid of the excess ear solution- allow it to do so, as this will also cause the debris from the ear canal to come up.
Step five
Take the gauze or the cotton, and gently wipe away the debris that comes up to the surface. Don’t go too far down the ear canal, as this could injure your cat. A good rule of thumb to keep in mind is to only go as far down as the width of your finger will allow- without force.
How to trim your cat’s nails
As aforementioned, trimming your cat’s nails is the best thing to do before proceeding to attempt any of these tasks- no one likes a grumpy cat, especially ones with weapons.
Similar to ear cleaning, this procedure can also be done by your vet, however, it’s also possible for you to learn how to do it, purchase a pair of kitty nail clippers and carry it out at home. You can trim your cat’s nails every 2 weeks or so.
Step one
Similar to bathing your cat, you’re going to want to make sure they’re relaxed- don’t forget that you’ll essentially be handling 18 tiny knives.
Gently massage your cat’s paw for a few seconds, if they pull away, they are most likely uncomfortable. Be gentle, and when they allow you to hold it, softly press down its pad to expose its nails.
Step two
Observe the nail, you’ll notice that there’s a pink part, and a white part. Do NOT cut the pink part, instead, stay a safe distance away and cut only the white part.
This pink part, also known as the quick, contains nerves and blood, and will cause your cut to bleed if damaged.
Step three
Positive reinforcement is always a good choice, so offer your cat a treat, perhaps after every paw. This will make them more comfortable with the whole process.
What to do if your cat’s nail starts bleeding
In case the quick is cut, it is always best to keep some styptic topical medication nearby, as it will stop the bleeding till you take your cat to the vet for further treatment. If you do not have this on hand, use a towel or some gauze and apply pressure on the injured toe till you can get professional help.
In conclusion, grooming your cat in any way requires a lot of patience, but it’ll definitely make cuddle-time more enjoyable. With that being said, always make sure to contact your vet if you feel unsure, as they may be able to provide all of the above services (we do!). With that being said, we hope your grooming session goes well.